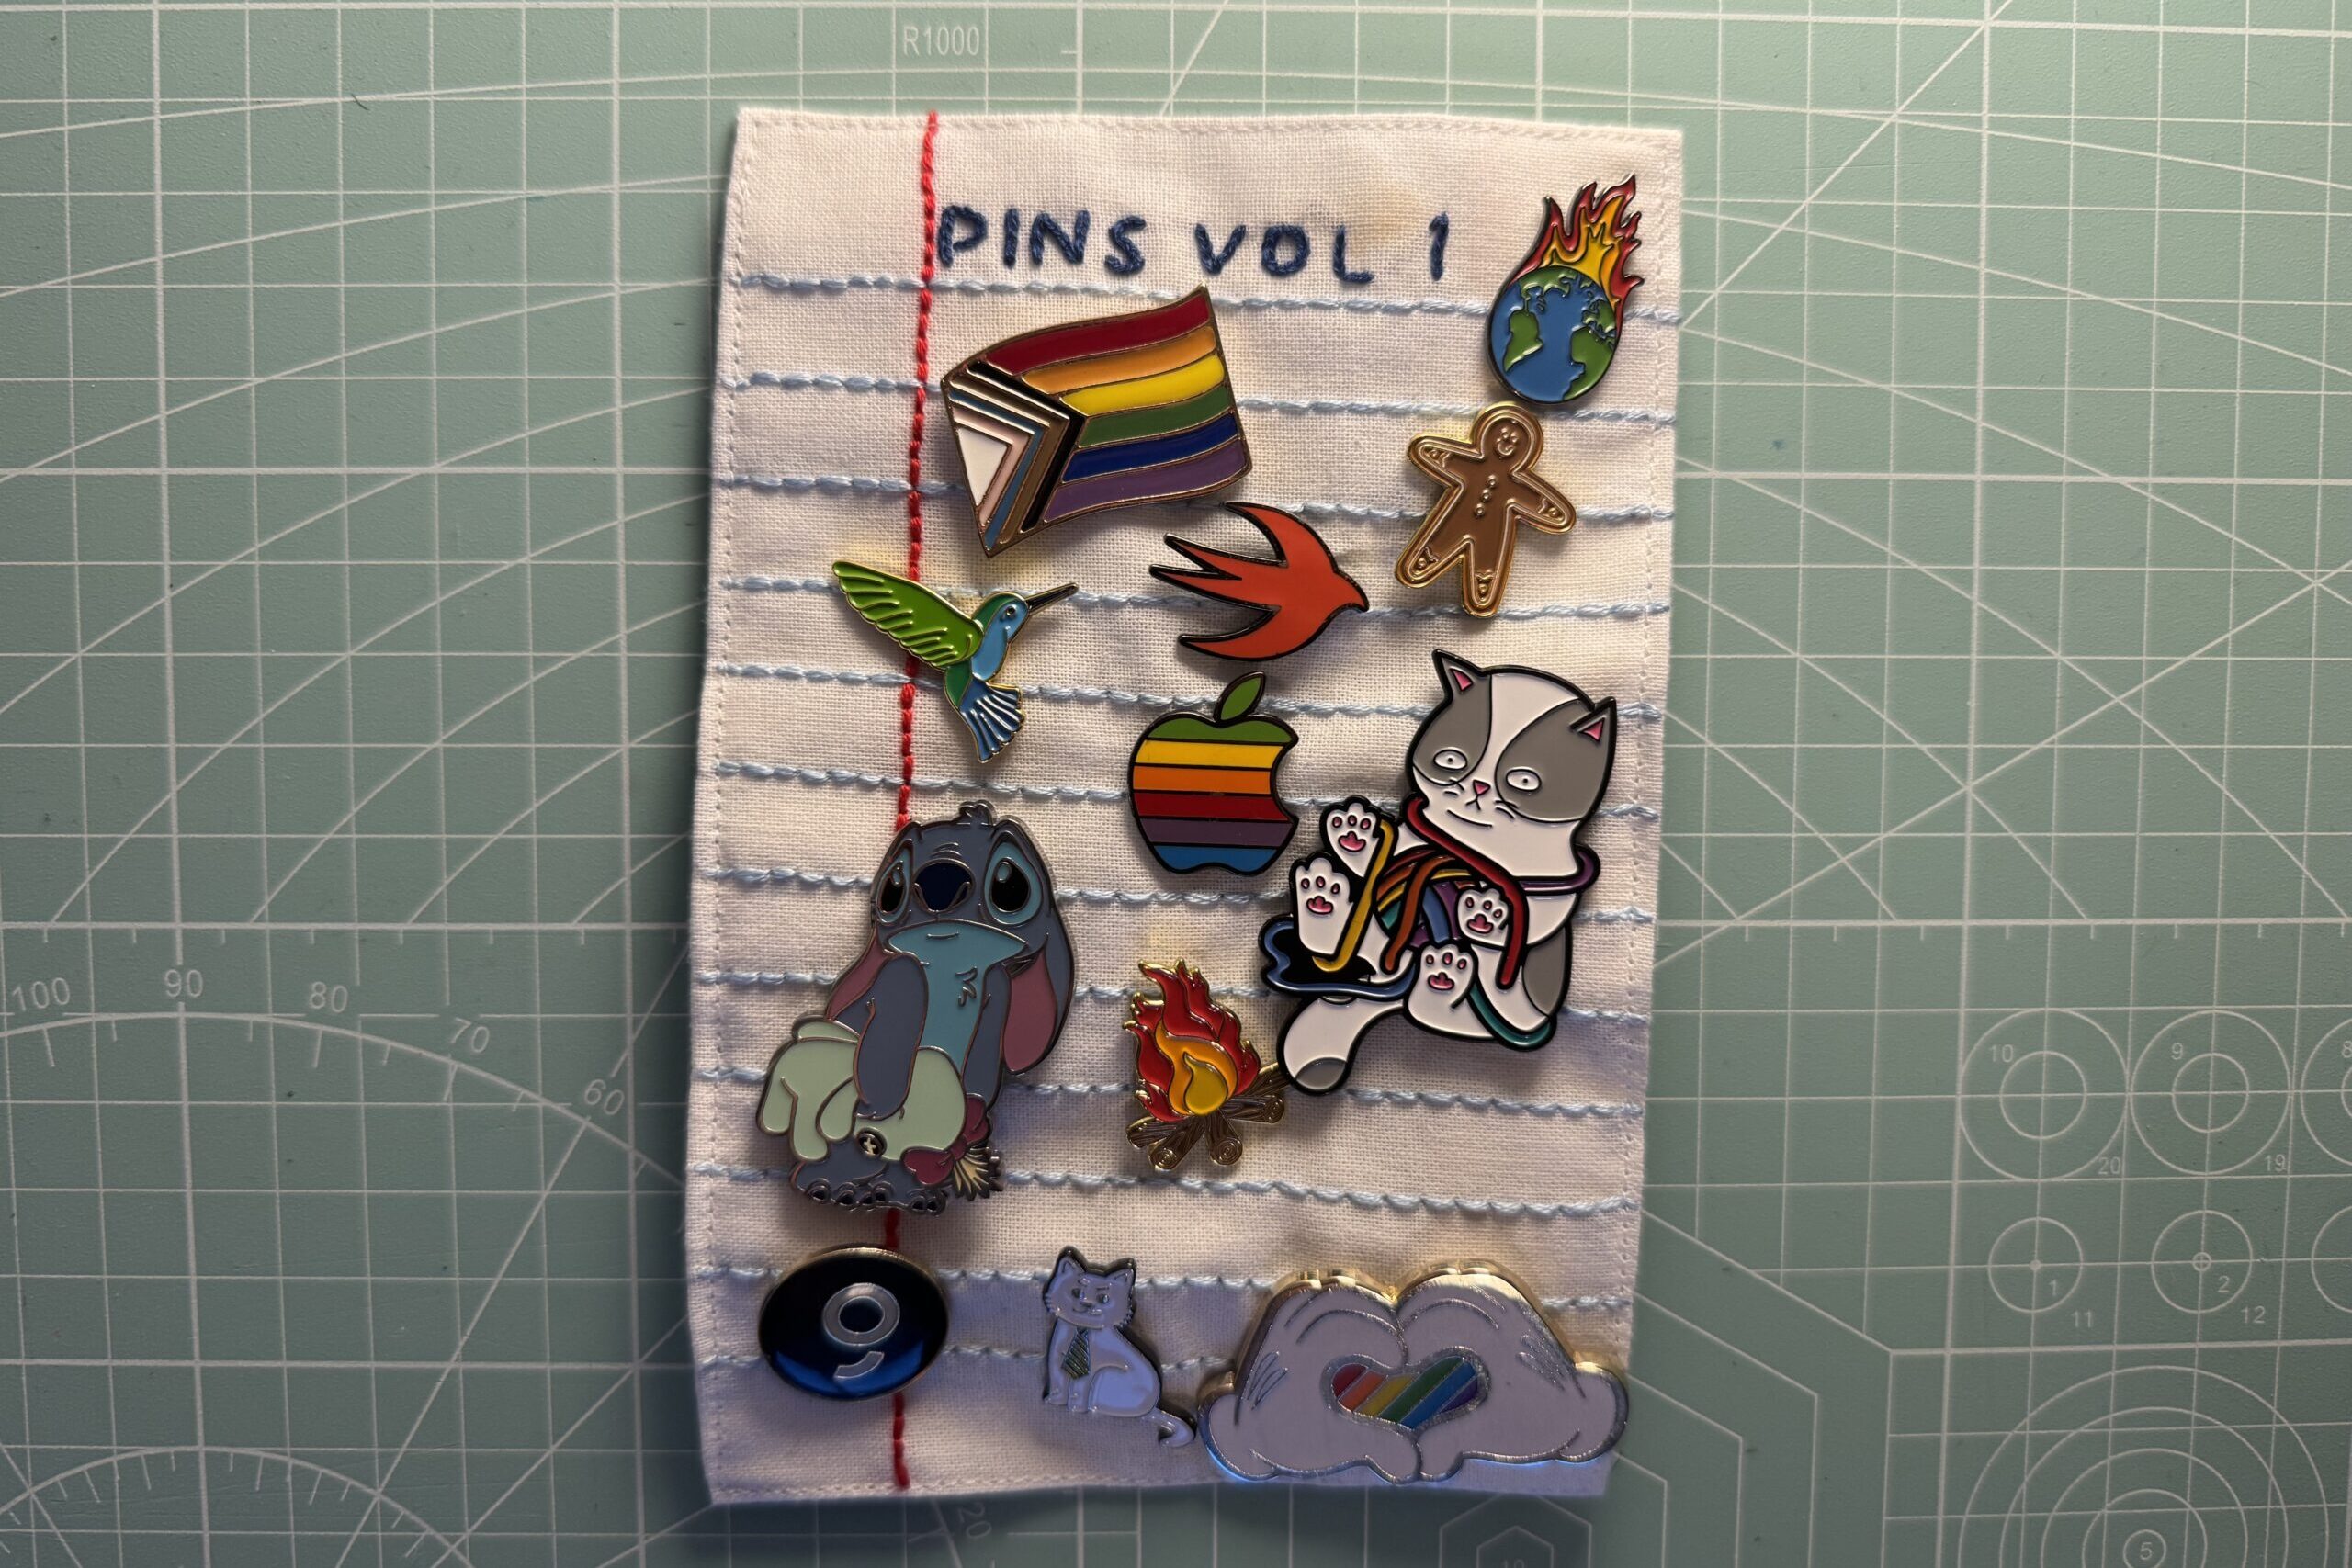
Every collector sooner or later reaches a point where they wonder, “Where should I put my collected stuff?” I’ve already reached this point with my pin collection a while ago. The quick solution would be to buy a box at the store, but as a crafter, I prefer not to take the easy way out. I’ve already made embroidered college blocks before and the concept felt like a fun idea to store my pins.
The block has a DIN A6 size. I created the lettering using a chain stitch with two strands of the dark blue thread. The lines are backstitched with three strands.
The Process
Preparing the fabric
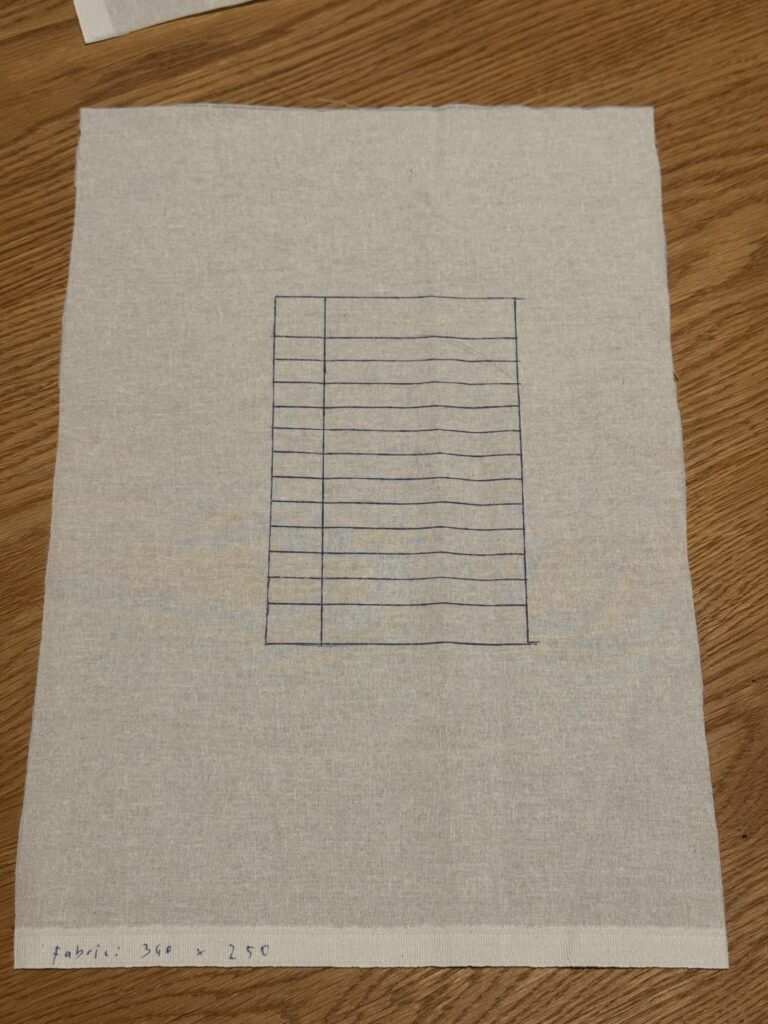
For this project, I had very specific dimensions in mind. I wanted the college block to resemble the size of a DIN A6 page. To achieve this, I cut the fabric to a size that would allow me to sew it together at the back and fold in the sides. This resulted in a square of dimensions 34x25cm. I then outlined the square for the front of the sheet. The square should be as much as possible in the middle of the sheet, because I needed the extra fabric later for the sewing part.
Transfer
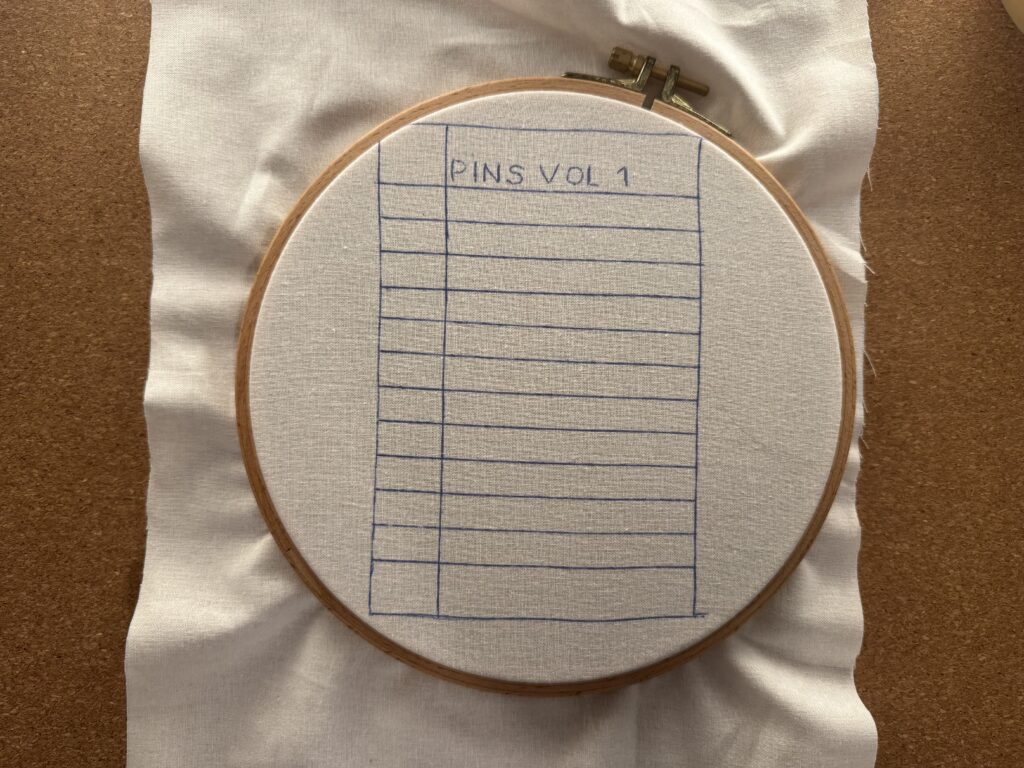
Every good embroidery project begins with marking the pattern. Since the college block required a bunch of perfectly straight lines, I didn’t transfer them from my iPad but instead used a ruler. I left 2cm and 1.5cm at the bottom, and in between, I created horizontal lines with a spacing of 1cm.
To complete the pattern, I transferred the lettering from my iPad. I carefully aligned the lines I had already drawn with the lines from the pattern I had created. This helped me that the lettering was positioned correctly and straight. With lettering, I’ve learned that being precise in this step saves me time and effort during the embroidering.
Making the letters
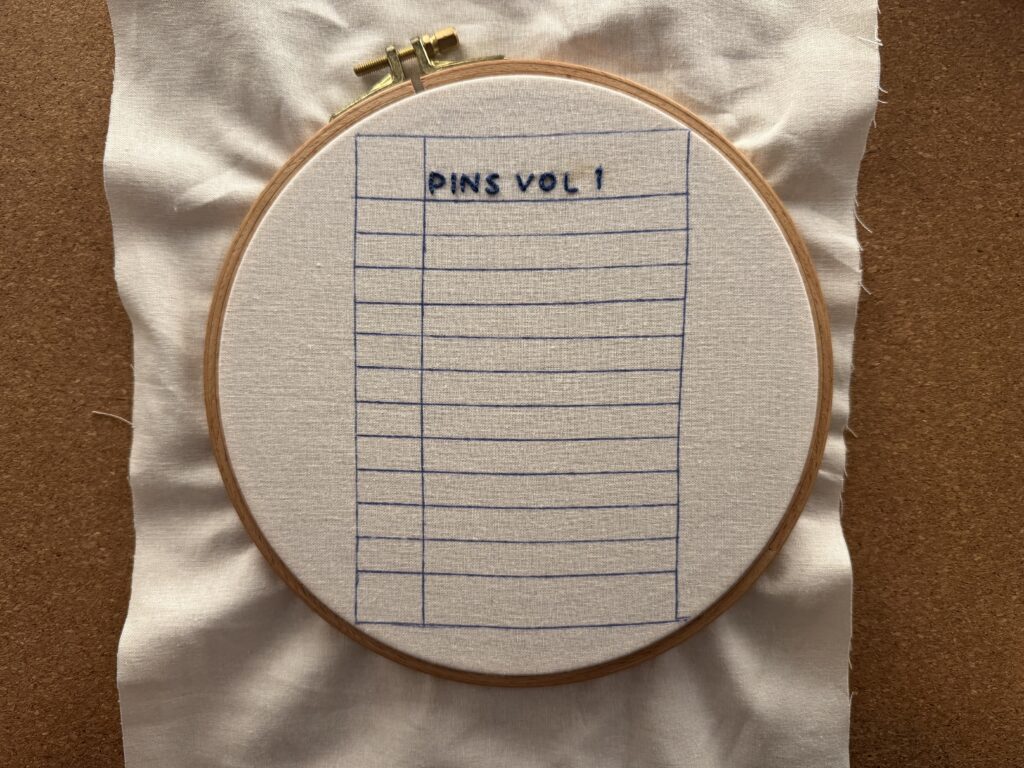
Making the letters is the most precise part of the project, while the lines require a lot of time. That’s why I decided to start with the lettering so that if I make a mistake or don’t like it, I won’t lose too much time. For any kind of lettering, I’ve been using chain stitch lately. I think the continuous line looks really great, and this stitch can capture any curve very well.
Making the lines
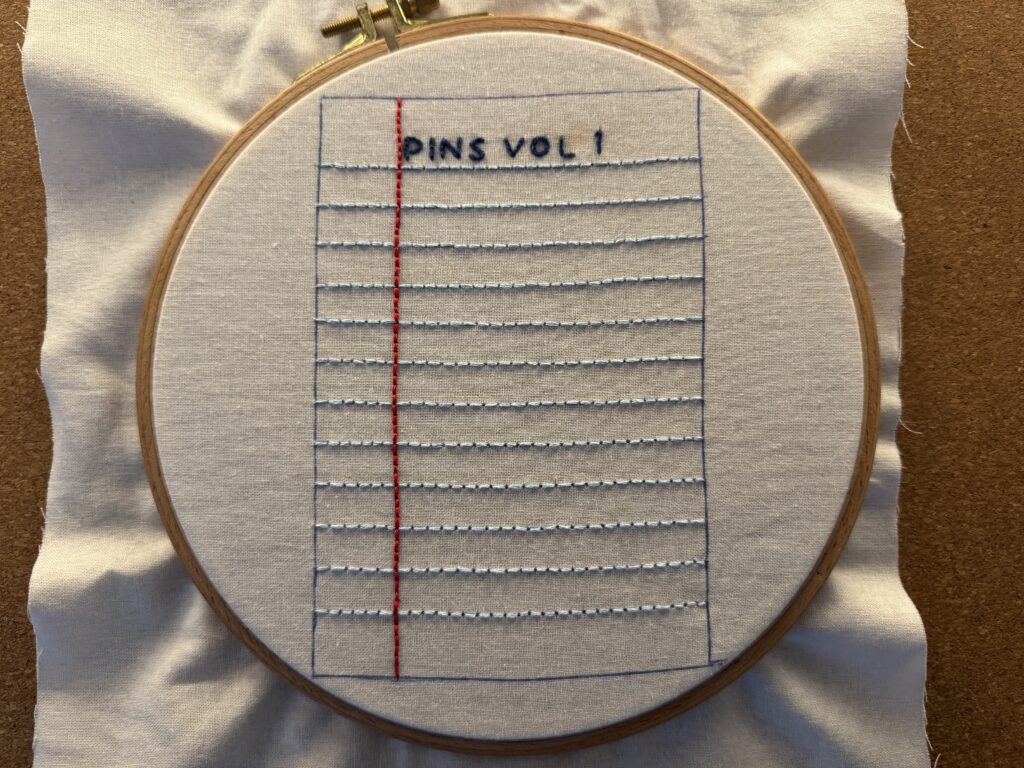
After completing the letters, I transitioned to the classic light blue and red lines of a college block. This section requires significant time, so I opted for an easy backstitch. The second reason for using backstitch is that it allowed me to go down on the crossing between the horizontal and vertical lines, preventing any thread overlap. I believe this gives to a cleaner finish for the project.
Preparing the fabric for sewing
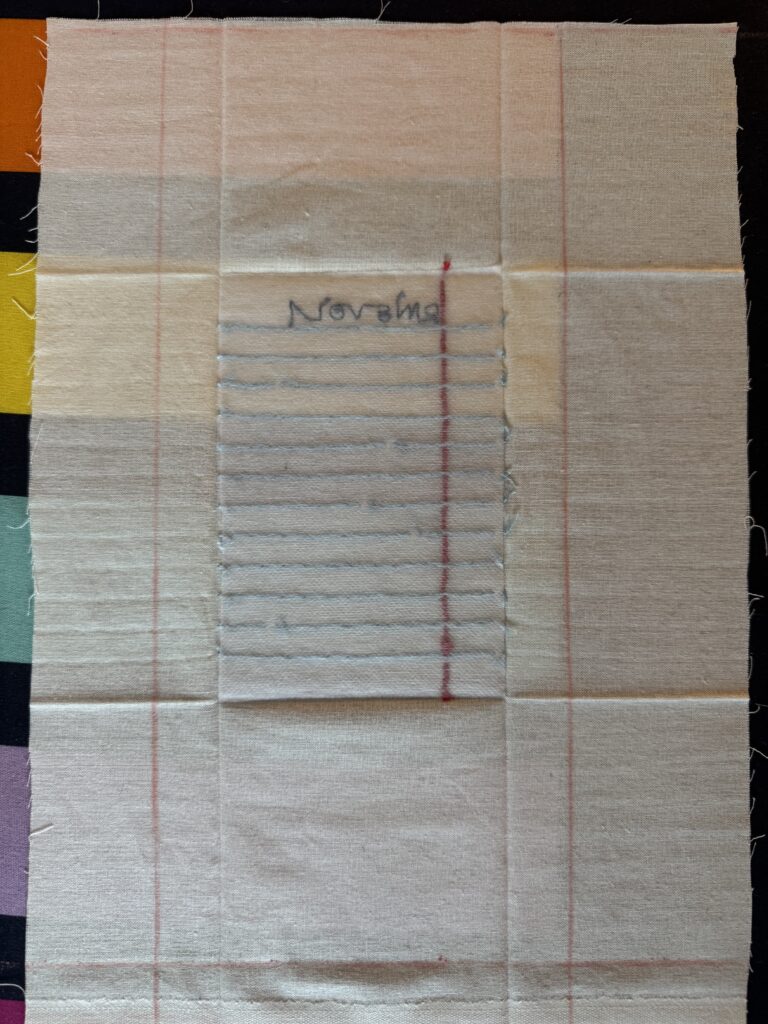
With the embroidery completed, it’s time to prepare the piece for sewing. I began by folding the fabric to its final dimensions and pressing it to create creases that will help me in orientation later. After reopening the fabric, I cat the fabric to the final size and added iron-on vlies to protect the embroidery and enhance the piece’s stability.
As for dimensions: I left right and left 2cm extra to fold in extra. On the top and bottom, I added about 9cm to sew together later plus 1,5cm seam allowance.
Sewing it all together
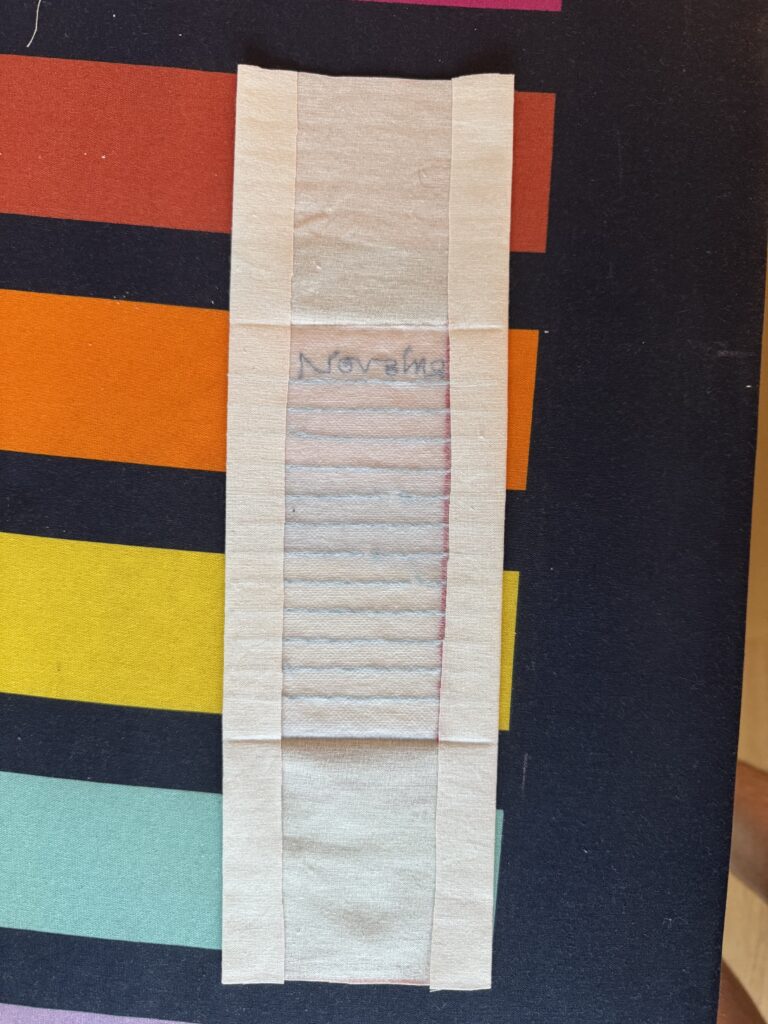
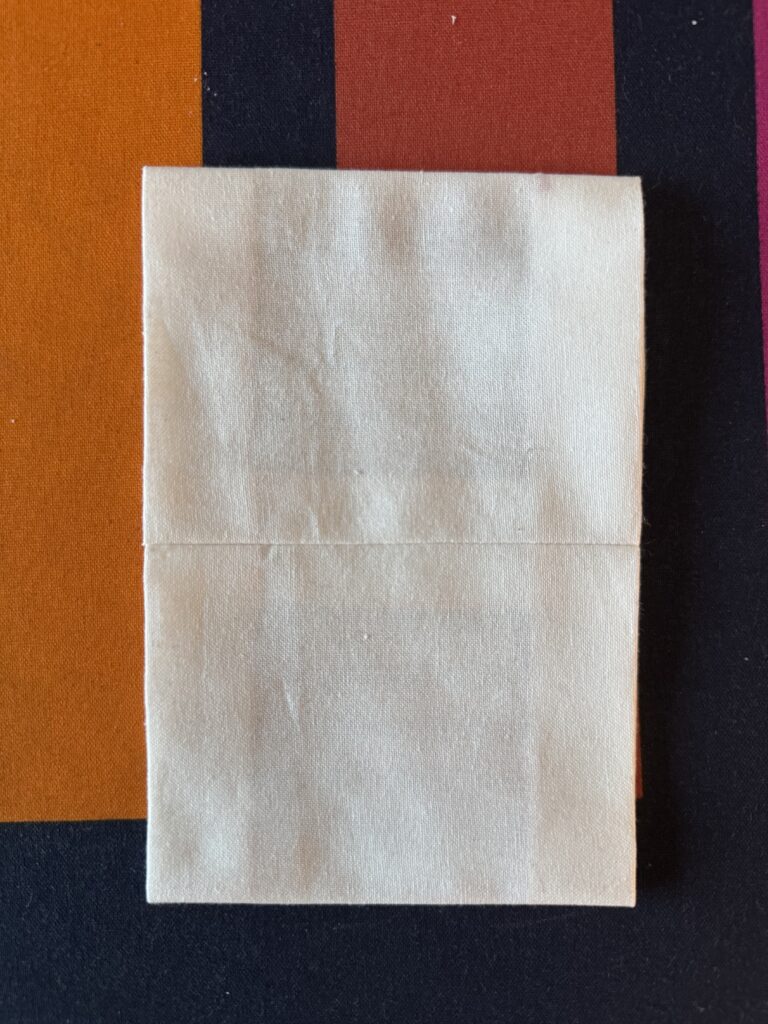
With everything set up, it was time to start sewing. I folded in the sides and pressed them flat. To create the back of the college block, I sewed the top and bottom right sides together with a seam allowance of 1,5cm. Turning it inside out gave me a first look of the piece. The final step was to press the block one last time before sewing all the sides together.
I absolutely love this project because it transformed my pin collection into art. College block embroidery is one of my favorite formats. It’s a fun thing, and the possibilities for design are basically endless.