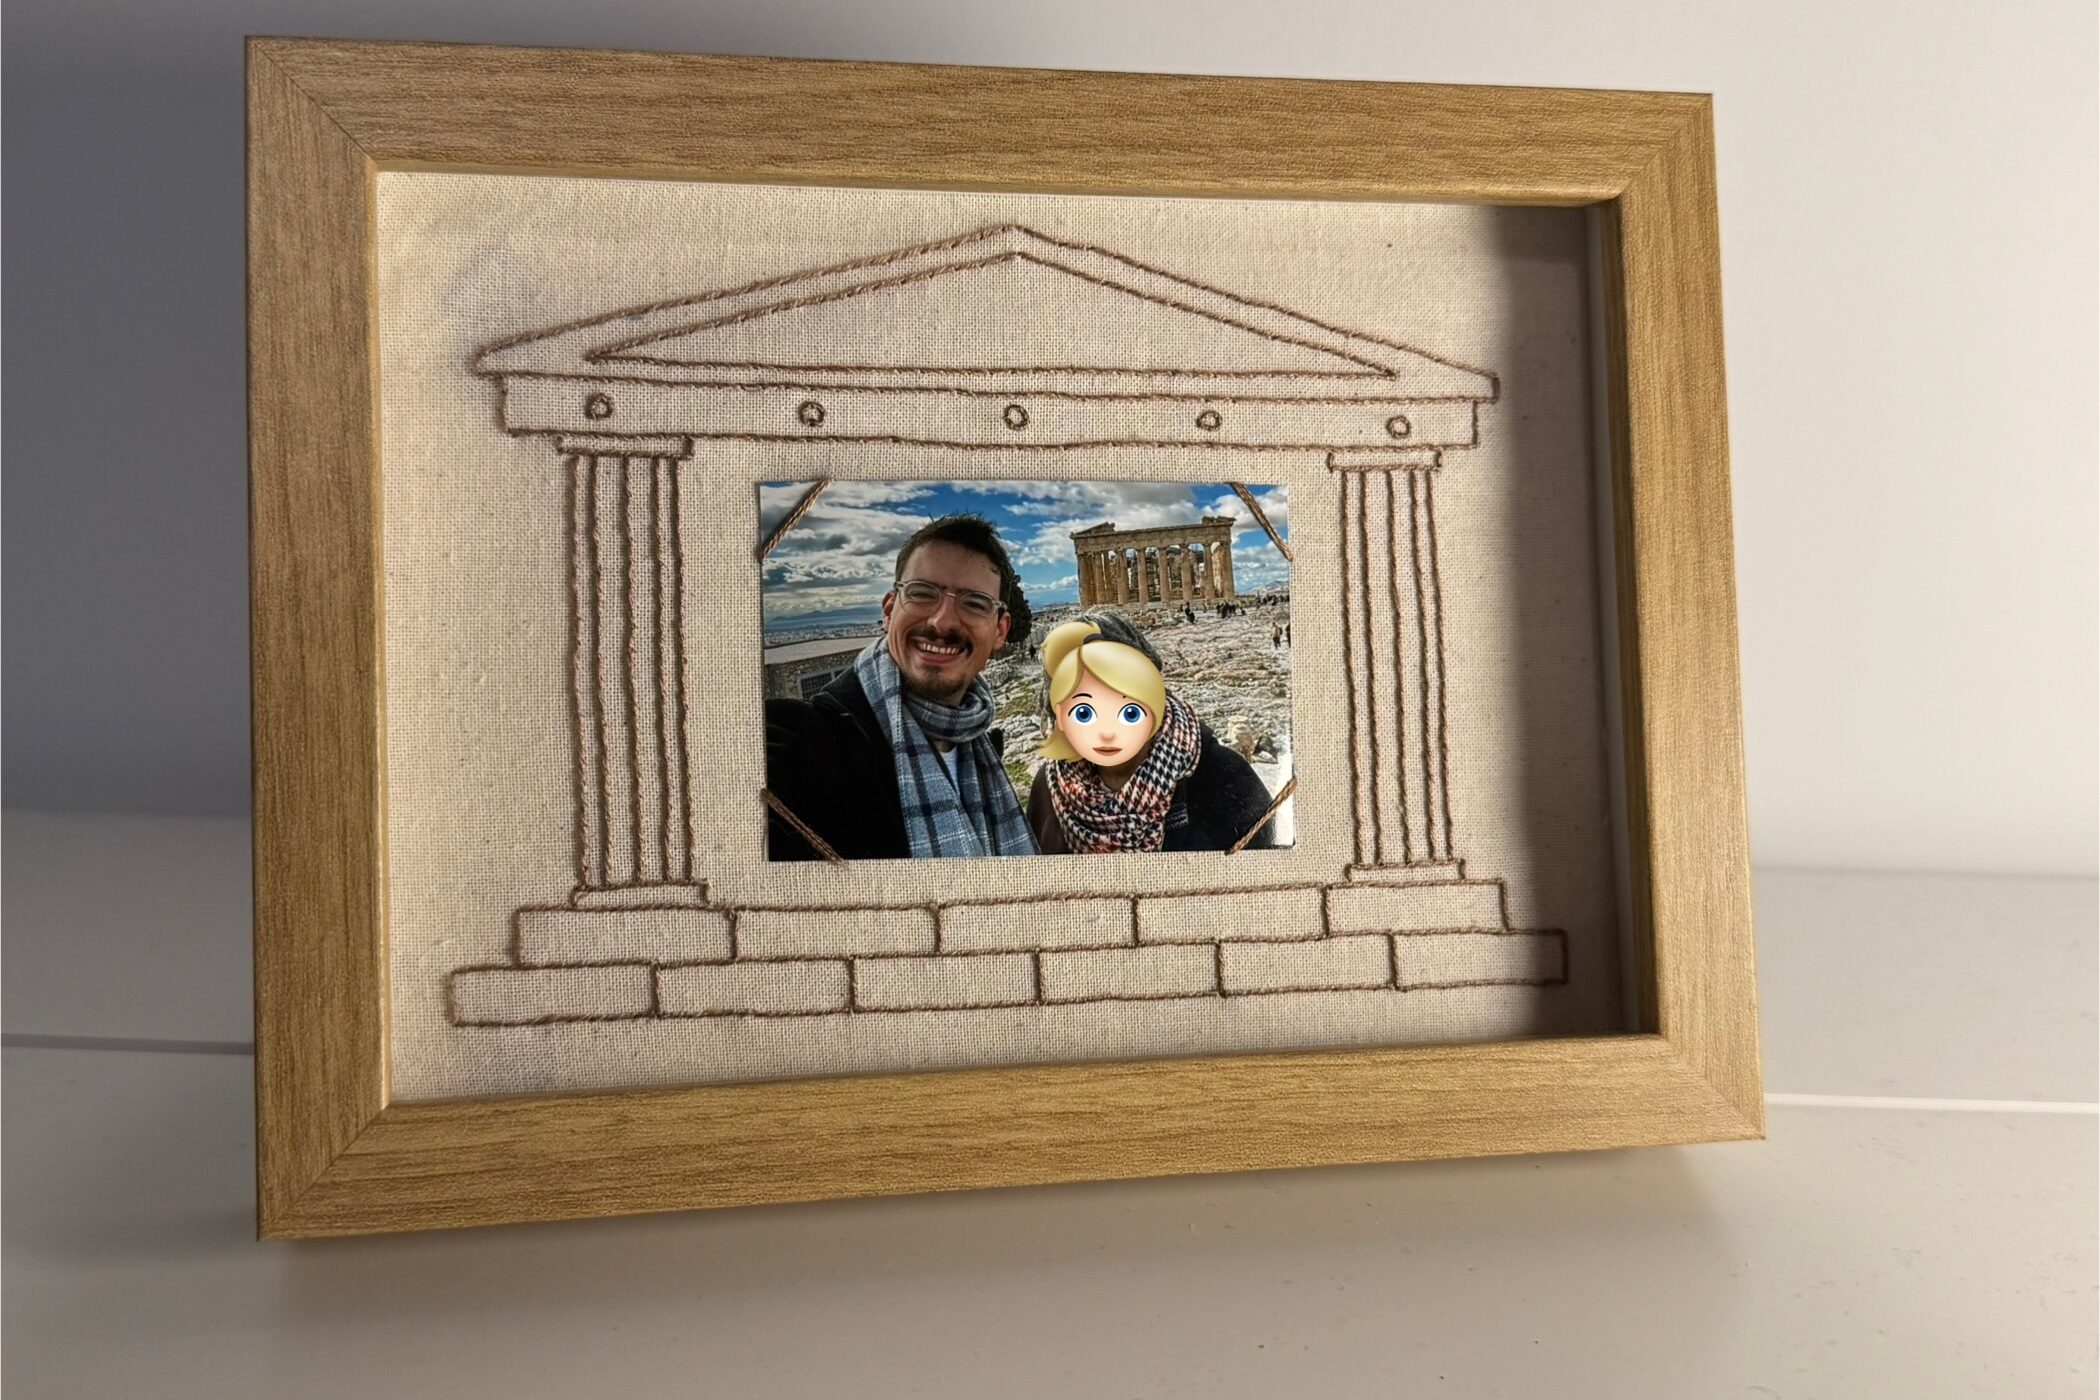
This is probably one of my more personal embroidery projects. When I make my mom a gift, I want it either to be an activity or a momento of a past activity. I settled on this Temple Picture frame. It is the perfect frame of a great memory: Our trip to Athens.
I wanted the finished piece to fit into a picture frame because first, it looks more finished, second it protects the embroidery.
The full project is only done with one color and the stitch is whipped backstitch with 2 stands of embroidery thread. I figured, this stitch would be ideal to have complete lines without any breaks or any other form distracting pattern.
This was overall a rather straightforward project and took me only a few hours to complete.
The Process
Transfer
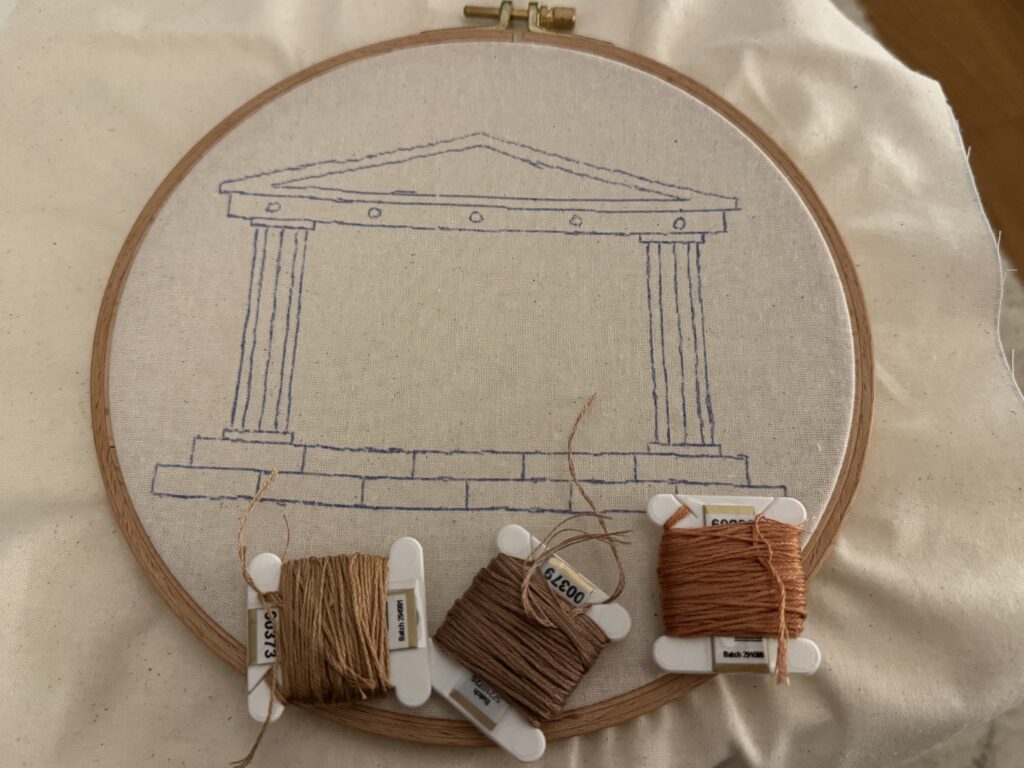
The fabric, that I chose is a light beige, natural color. The thickness and lightness of the color allowed me to transfer the design directly to the fabric. I opened my design in the desired size on my iPad, put the display to maximum brightness and locked the touch screen. To avoid the embroidery hoop moving around, I put painters tape on the edges of the screen. This type of tape is easy to remove, leaves no residue and has a rough surface – so perfect for the slippery surface of an iPad
Pillars
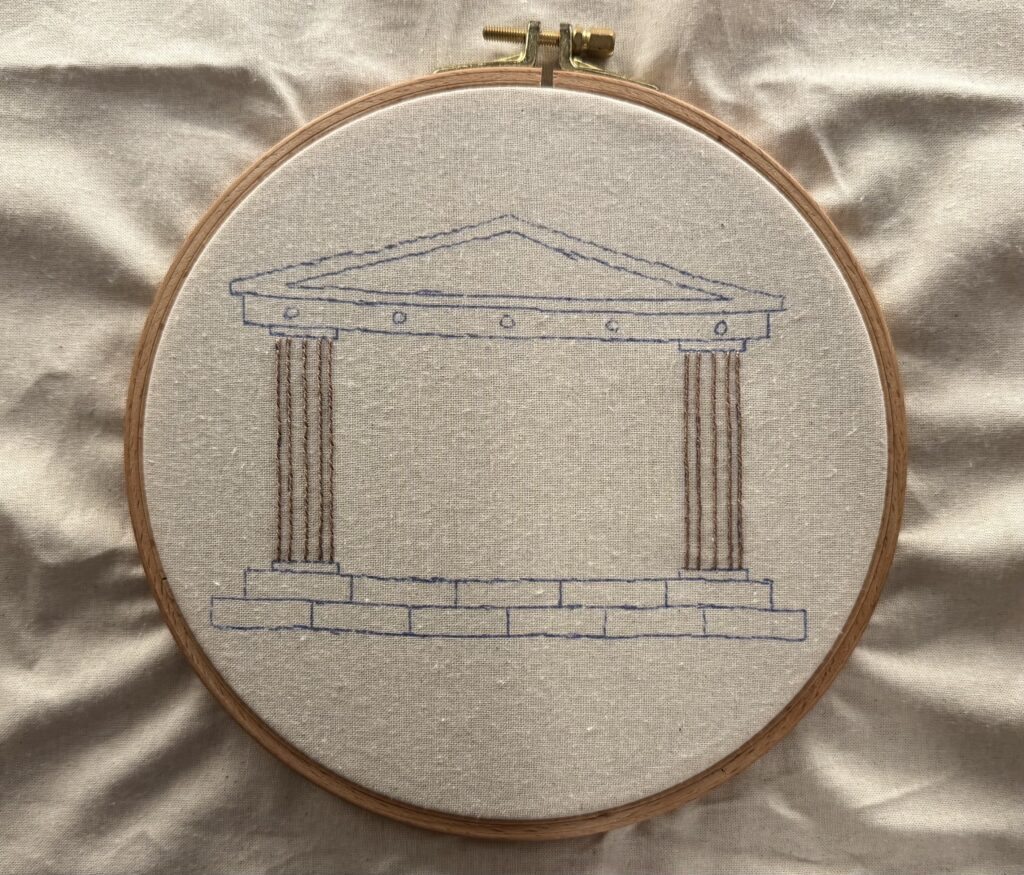
I wanted to start slow, so I decided to go first the easiest part: the Pillars left and right. When I did the long vertical lines resembling the iconic design of ancient pillars, I kept all the scrap thread for the foundation. For the vertical line of the top and bottom end, I went with a single stitch twice for even thickness.
Foundation
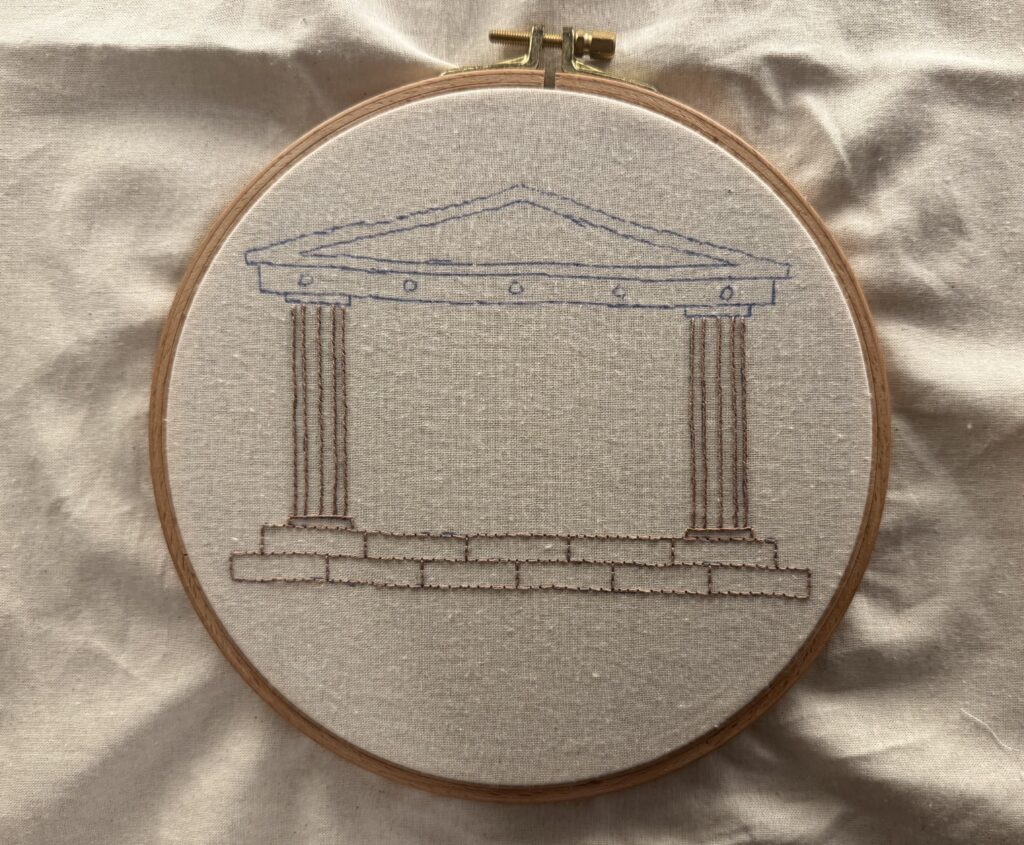
The bricks at the bottom were for sure the most time-consuming part. But no worries, this part is not more complicated than any other – it is just a lot of work 😉 Since this part has a lot of short lines, I used the scraps from the Pillars. I went brick by brick starting at the pillar to make sure there are no gaps and everything is evenly spaced. For an easier flow, I did first all the back stitching and then went over everything again and do the whipping with a separate thread. When doing the whipping, I was mindful where you start and finish. I didn’t want to have a gap in the middle of brick and always started and finished at the corner of a brick.
Roof
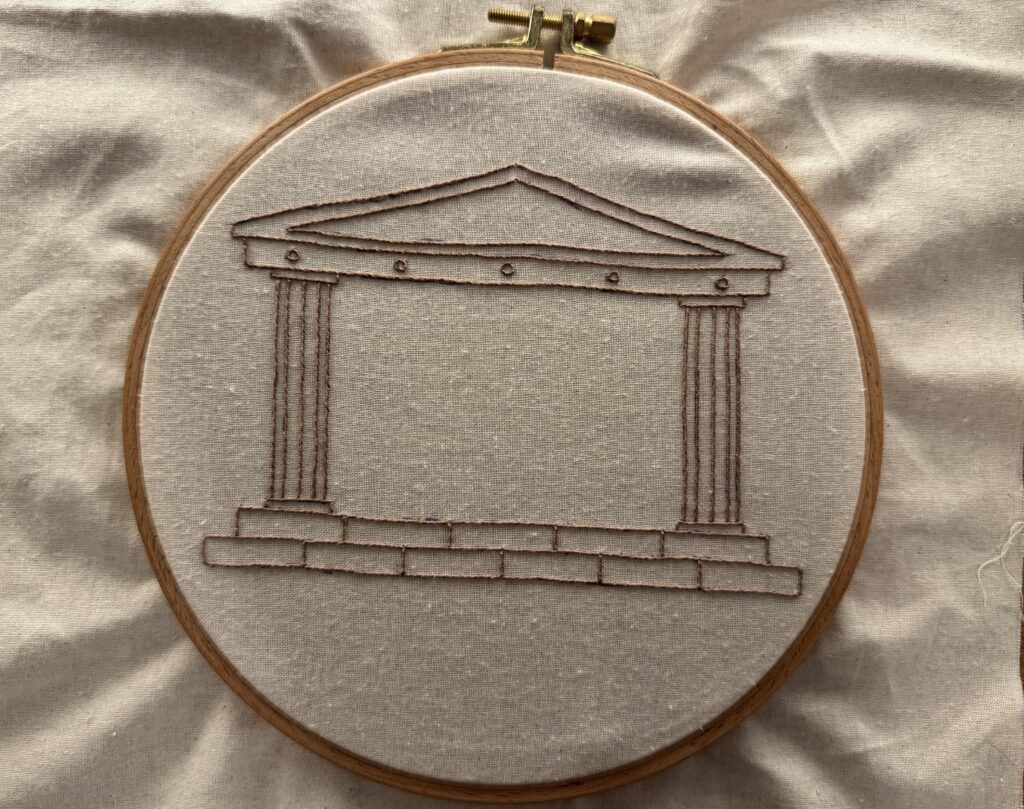
This was probably the fasted part of the whole project. It is just a bunch of straight lines. Same as with the foundation, I did all the backstitching first and then whipped all of the lines. When doing the whipping, I made sure to finish the line at each corner. This way all the edges are sharp and don’t turn into round corners.
For the ornamental circles, it is important to make small back stitches and don’t pull to hard on the thread for the whipping. This way the circles stay round and the correct size.
Finishing touches
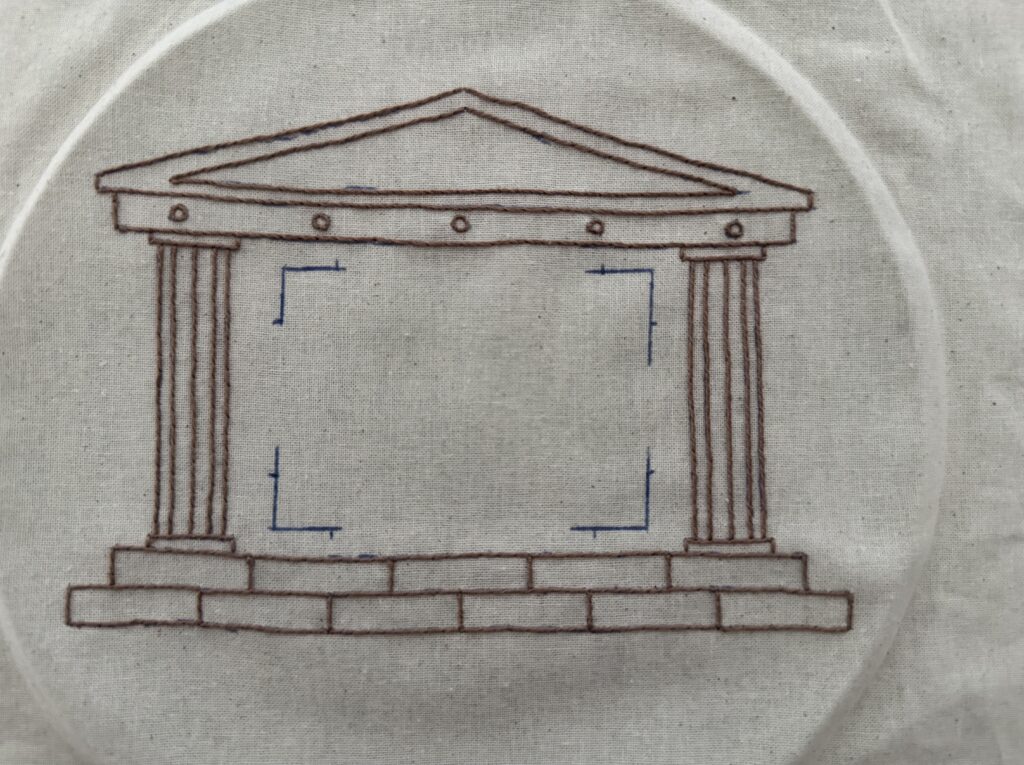
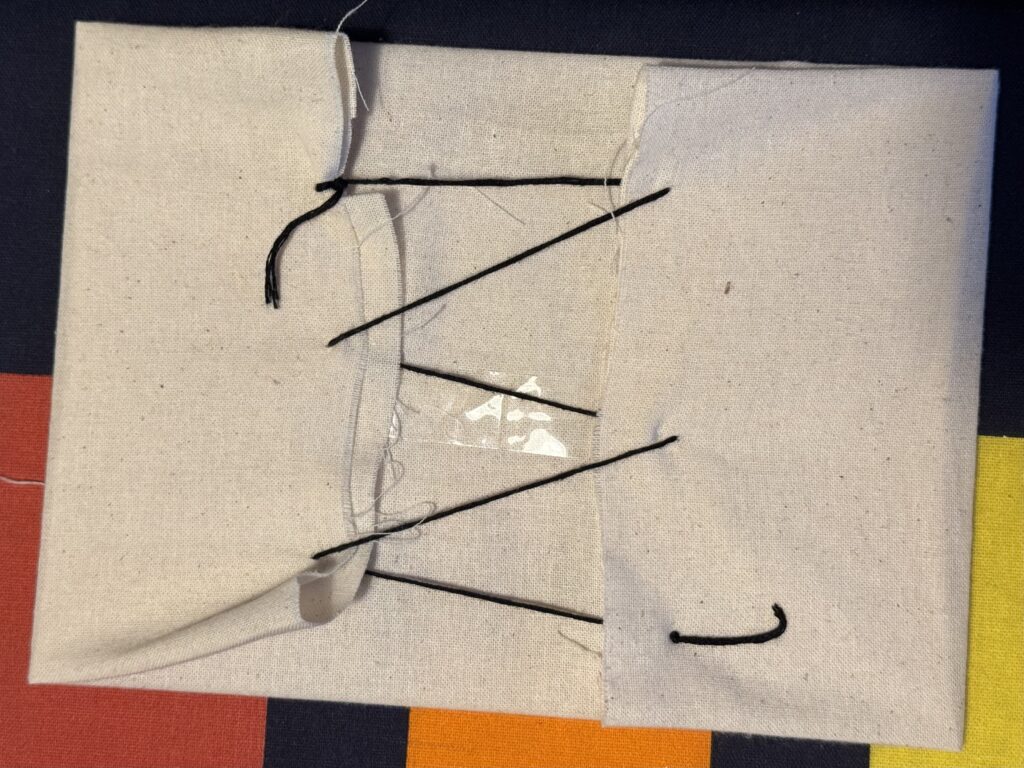
To complete the project, I put my picture in the center and marked the corners. With a single thread, I created diagonal lines that will hold the picture in place.
Once all the embroidery was done, I gave the fabric a little bit of heat with the iron to make the markings disappear.
All that is left at this point is to cut the fabric to size, tighten it on the piece of acrylic that came with the frame and assemble everything.
And that’s it. Picture frame done 😉