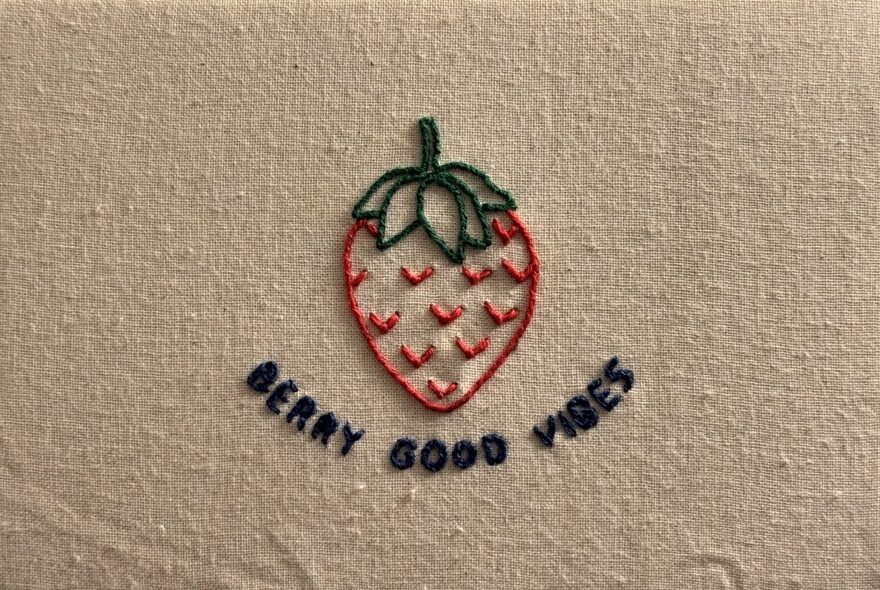
Berries are amazing right? Especially the self-grown ones. I started growing my own strawberries this year and I became kinda obsessed with them. But it’s a healthy obsession and no-one gets hurt, so I don’t see a problem with it. Quite the opposite, actually. Thanks for my small berry garden, I felt inspired to make a berry themed embroidery. Because of many things, I feel like the “the vibes are off” describes it quite nicely how I feel lately and I wanted to counter this with some berry good vibes.
I get a lot of peace and calmness from hand embroidery. This is one of the projects where I got the most satisfaction from the process itself. I enjoyed a lot making the design in Figma, but even more to sit down listen to some music and get lost in the stitches. Since things are recently not working out how I imagine them, I took my time with this one and enjoyed every single stitch of it.
While I like to technically challenge myself, I avoided complicated stitches on this one and sticked to the basics. The whole project only needed three stitches:
- The berry, leaves and steam are made with a whipped backstitch
- The berry details are wide lazy daisies
- And the letters are a chain stitch
I don’t think, it needs more. A whipped backstitch makes nice curves on the berry. Chain stitch is in my opinion anyways the best stitch for letters because it can catch intricate curves nicely and by stating a new line you can achieve very sharp edges.
The berry
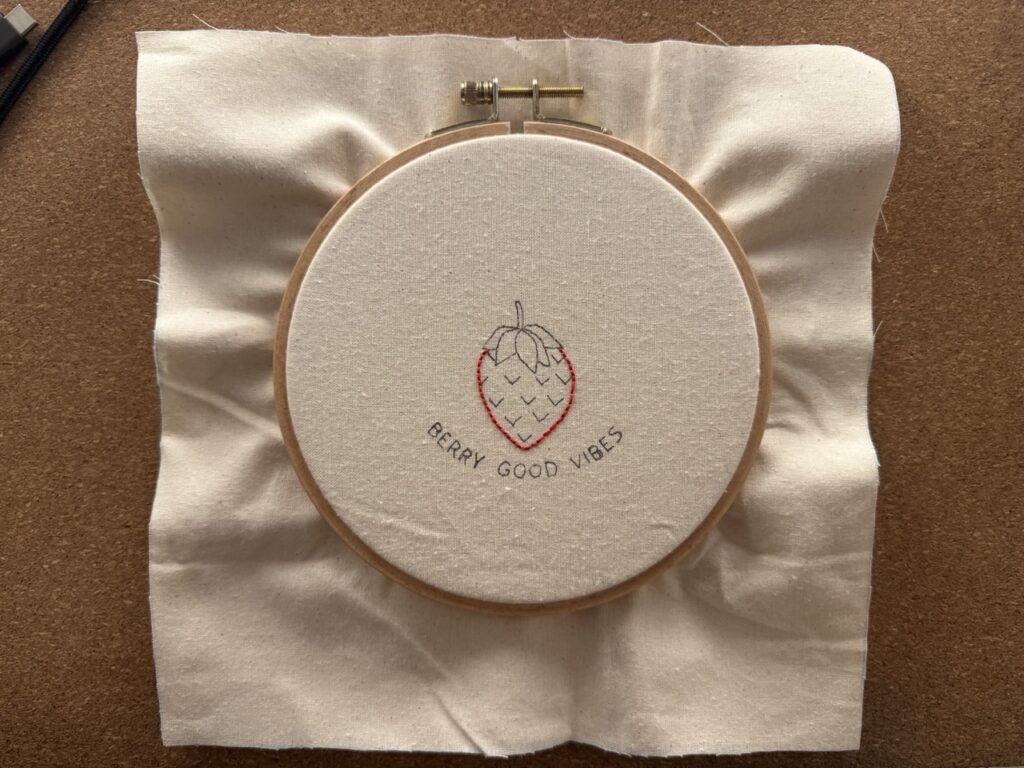
I started stitching this project at the red part of the berry. A very bold and bright red felt right for this project. The outline of the berry is slightly curved, therefore I made the back stitches as small as possible. This way the curve stayed nice and smooth when I add the whipped stitches later.
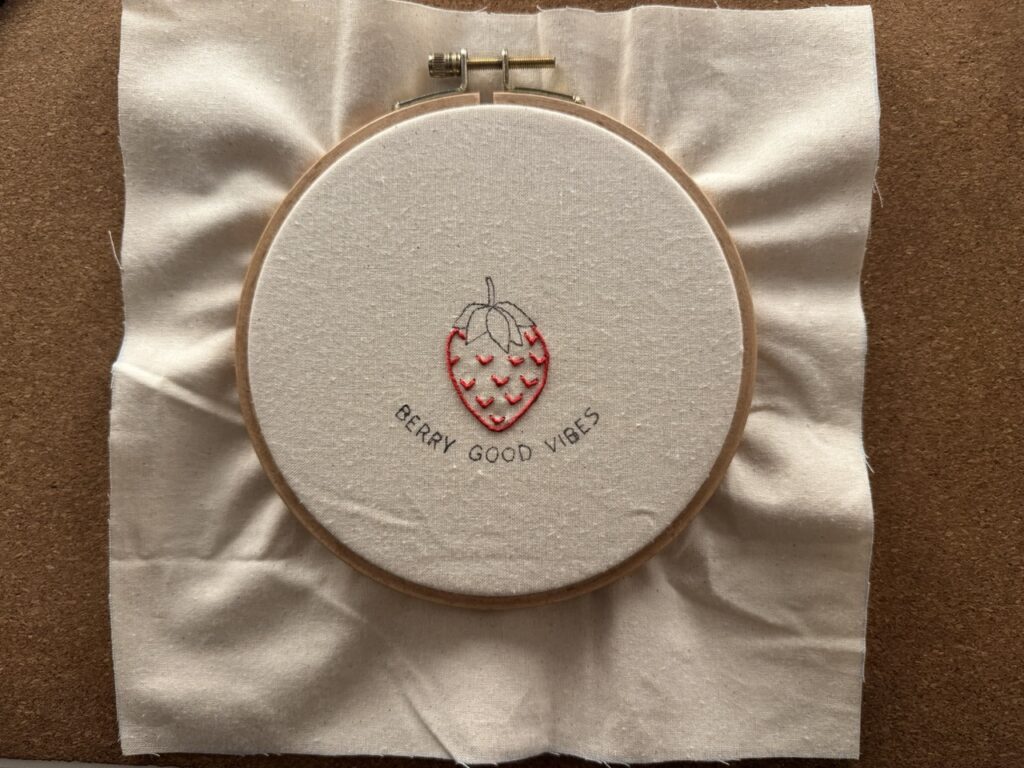
For the details of the berry, I used a lazy daisy stitch. I’m not gonna lie, this felt weird to make. Usually lazy daisies are made slim and long to form flower petals, but this time I made them wide to form the triangles that resemble the tiny seeds in the berry.
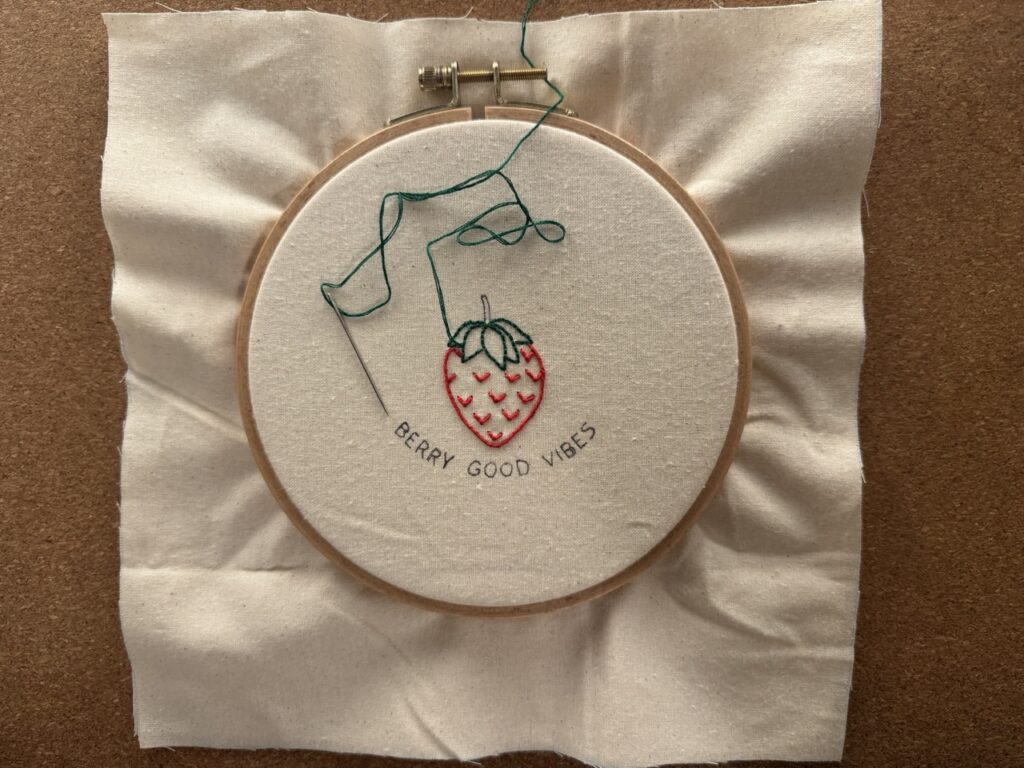
After that I moved on to the green part. It didn’t go much different than the red outline, but I was much quicker since I was already in the flow and it’s also not really much work. At the top, where all the leaves meet, I payed attention to still finish all the lines until the end and not merge them. Otherwise, the leaves would look unfinished.
With the berry done it was time for a berry break 😉
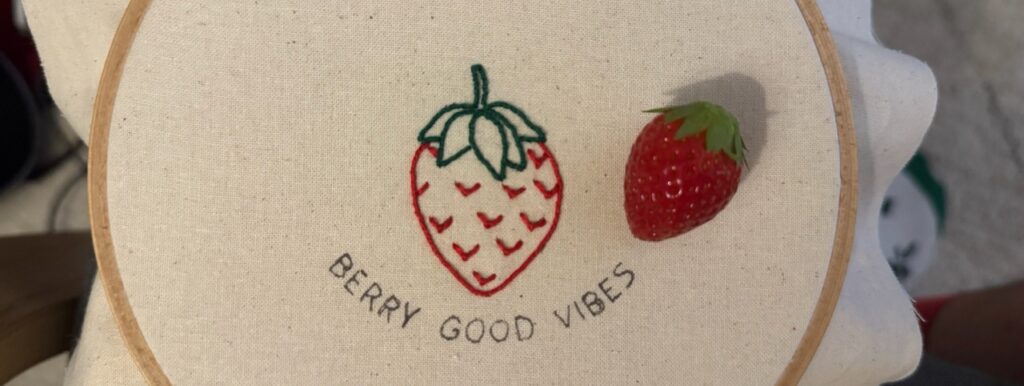
The letters
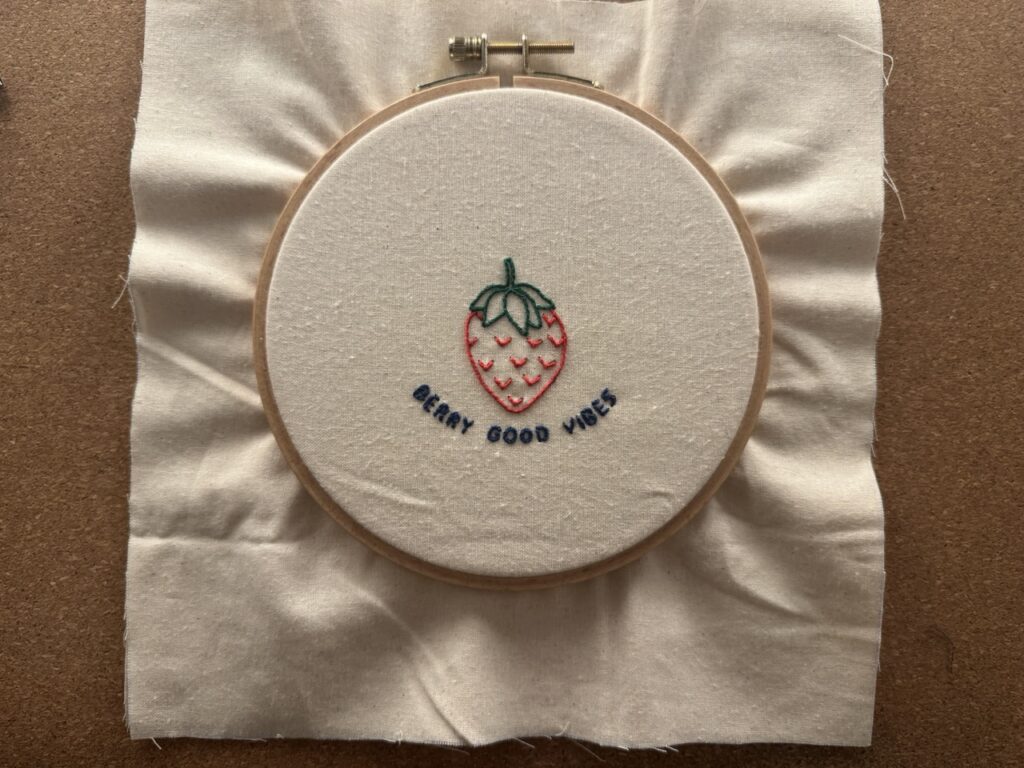
I always find letters rather difficult to make. The tricky part of letters is that we have a very clear expectation how a letter looks like. If it is only a little bit off, it looks malformed or is not even readable. From the whole project, this probably took me the longest. I wanted to make sure all the stitches are in the right place and the letters look like they should.
With the letters done, the project is completed. I liked this project a lot! It lifted my mood drastically and the applied techniques are quite enjoyable.
Hope you feel inspired and wishing you berry good vibes 🍓
Want to make it yourself?
You can make this project yourself. Download the PDF below. It contains the pattern, colors and stitch map.
Enjoy and have fun!
Terms apply. Learn more here: Embroidery Design Terms